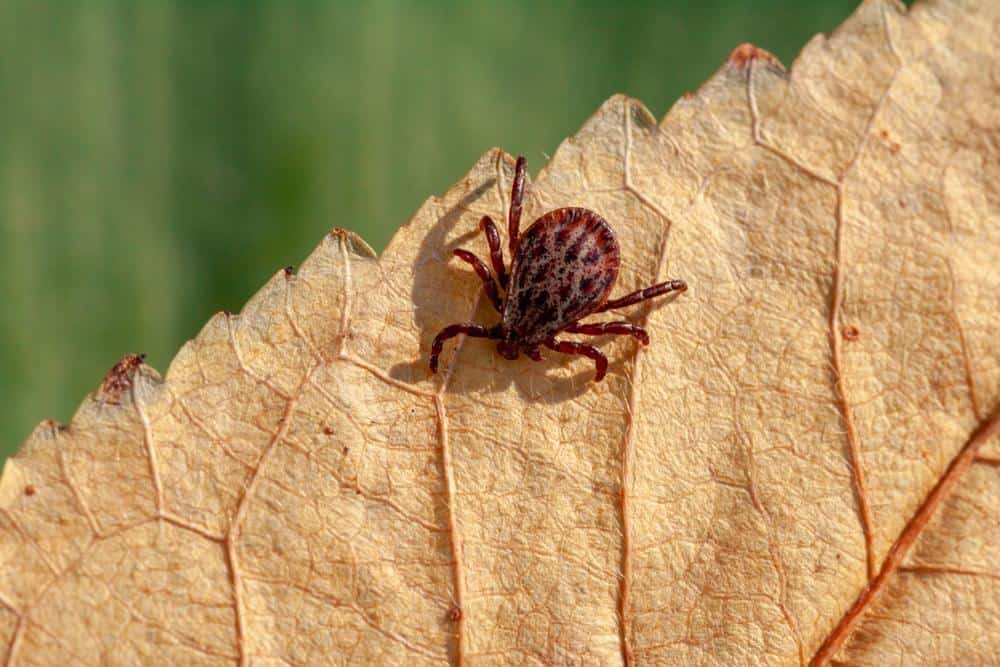
Clover mites are tiny, oval-shaped arachnids that can become a nuisance when they invade homes in large numbers. While they are not harmful to humans or pets, they can leave behind a characteristic red stain when crushed. In this comprehensive guide, we will discuss how to identify a clover mite infestation and the steps you can take to prevent and eliminate them from your home.
To keep clover mites out of your house, first, remove vegetation close to your home and maintain a plant-free barrier around your foundation. Use materials like gravel around the foundation to discourage mites. Seal all gaps and cracks in your home’s structure and ensure window screens fit tightly. Avoid over-fertilizing your lawn as it can attract mites. If you find clover mites in your home, vacuum them up, seal entry points, and consider contacting a pest control professional.
What Are Clover Mites and Why Are They a Concern?
Clover mites (Bryobia praetiosa) are small, reddish-brown creatures that feed on plants, including lawn grasses, ornamental flowers, clover, and dandelion. They are attracted to areas with vegetation, moisture, warmth, and mild weather. Clover mites can infiltrate houses in large numbers through cracks and small openings around windows and doors. If squashed, they leave a red stain caused by their pigmentation. This can cause minor stains on various surfaces and their presence may indicate larger issues in a home, such as moisture problems that attract other pests.
How to Identify a Clover Mite Infestation?
Identifying a clover mite infestation can be challenging due to their microscopic size. However, there are some common signs to look out for:
- Tiny moving spots: Residents of infested buildings may notice tiny, moving spots on walls, drapes, and window shades. These spots are actually the clover mites themselves.
- Red stains: The occurrence of red stains on carpets, draperies, papers left out in the open, or other lightly colored surfaces may indicate a clover mite infestation. These stains are caused by crushed clover mites.
- Outdoor damage: In your lawn or garden, you may notice small silver streaks on leaves or flowers that the clover mites have been eating. If the clover mite population is large, they may start to kill grass and plants, causing brown spots on your lawn.
How to Prevent and Eliminate Clover Mites from Your Home?
Prevention is always the best method of pest control. Here are some steps you can take to prevent clover mites from entering your home:
- Remove vegetation: Clear a band of turf 18 to 24 inches wide around your home to prevent clover mites from approaching.
- Maintain a plant-free barrier: Keep grass and weeds away from the foundation perimeter and leave a vegetation-free strip about two feet wide, especially on the south and southwest sides of the structure.
- Use pea gravel or coarse materials: Placing a plant-free band of gravel or coarse materials around the foundation can discourage mite movement into the structure.
- Seal gaps and cracks: Seal holes, cracks, and gaps in the foundations, windows, and doors to discourage mites from entering the structure.
- Install tight-fitting window screens: Ensure window screens fit tightly to prevent mite entry.
- Avoid over-fertilizing: Do not over-fertilize your lawn or ornamental plant areas, as clover mite populations tend to thrive in well-fertilized lawns.
If you find clover mites in your home, follow these steps to address the issue:
- Vacuum up the clover mites: Use a vacuum cleaner to remove them from your house, as well as the surrounding floors, walls, and windowsills to pick up any mites or mite eggs that you can’t easily see.
- Seal entry points: Inspect your home’s foundation, window frames, and siding for cracks that may serve as entry points for clover mites. Seal these spaces properly to prevent mites from laying eggs or entering your home.
- Landscape with dry materials: Consider using gravel or other non-moisture-absorbing materials instead of mulch or grass around your home’s perimeter, creating a buffer about 18 inches out from the exterior. This makes it harder for clover mites to move from the grass to your home.
- Contact pest control professionals: If you notice signs of clover mite activity on your property, contact a licensed pest control professional to resolve the issue.
Conclusion
While clover mites are not harmful to humans or pets, they can become a nuisance when they invade homes in large numbers. By following the steps outlined in this guide, you can reduce the likelihood of clover mite infestations and keep your home free from these tiny pests. Remember, if you are struggling with a severe infestation, it is always best to seek help from a professional pest control service.
Frequently Asked Questions
What time of the year are clover mites most active?
Clover mites are most active during spring and fall when the weather is mild. They tend to be less active during the hot summer months and in winter they go into a dormant state.
Are clover mites dangerous to humans or pets?
No, clover mites are not dangerous to humans or pets. They do not bite or cause any known diseases. The main issue with clover mites is the red stains they can leave behind when crushed, as well as the damage they can do to vegetation.
Can clover mites infest indoor plants?
Yes, clover mites can infest indoor plants. If you notice tiny, moving spots or red stains on your indoor plants, it could be a sign of a clover mite infestation.
What do clover mites eat?
Clover mites feed on over 200 different species of plants, including lawn grasses, ornamental flowers, clover, and dandelion. They suck the sap from plants, which can cause damage to the plant’s health.
How do I clean clover mite stains?
Clover mite stains can be difficult to remove because of their red color. It’s best to avoid crushing them to prevent stains. If you do have stains, try using a mild detergent and warm water, and blotting rather than rubbing the area. Always test a small area first to ensure the cleaning solution does not damage the material.

